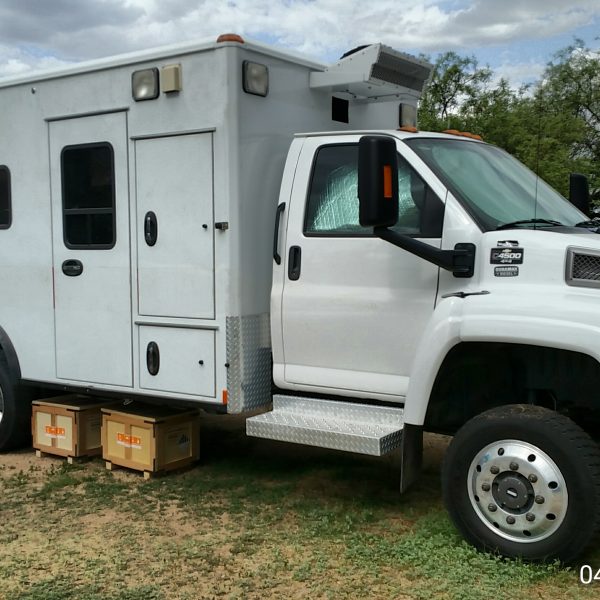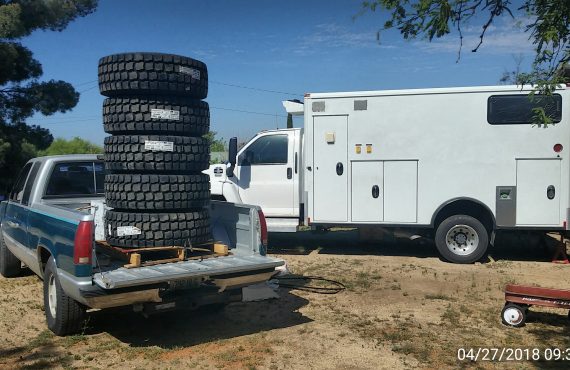
How to deal with all of those pesky lights on your new ambulance camper.
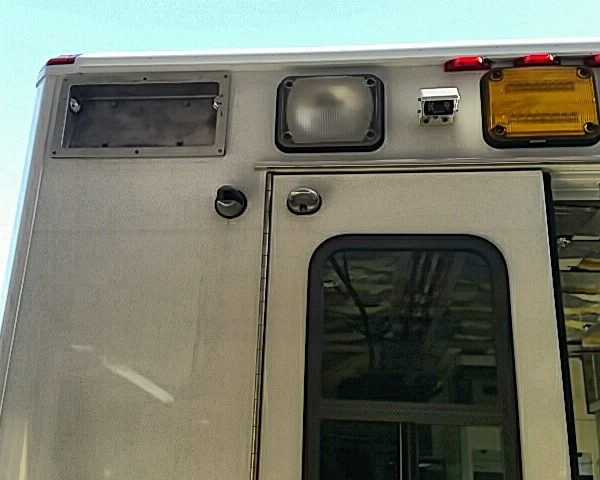
My buddy Mark had these light plugs made for me. I was planning on having them match the original hole perfectly. In the end we decided that perfectly was much to difficult to do. He’s a mechanical engineer and drew them up on his computer. Then I got a phone call where he politely let me know that the measurements and angles I took didn’t match. Good thing we didn’t cut them because when they got here there was a problem. I realized it would be much easier to cut the hole square on the ambulance rather than trying to match the pattern. Sounds obvious when I type it.
My welding skills aren’t good enough to fill that gap. Not sure how I’ll deal with that yet. Will bondo fill a 1/4 inch gap? We will let the body shop worry about those details.
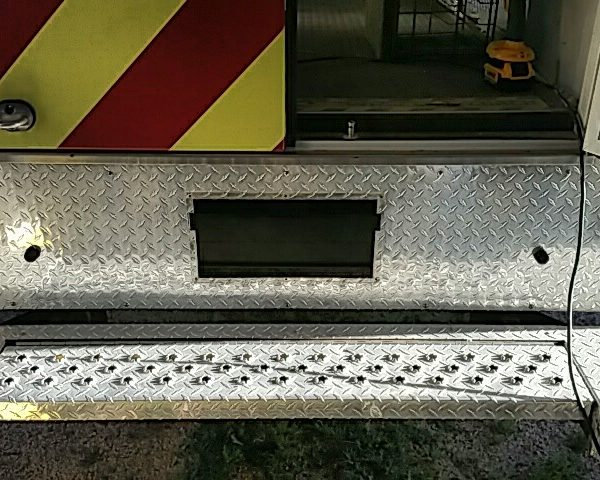
While trying to come up with creative ways to get rid of the scene lights I started eyeing the license plate holder. The FirstRoamer had the plates way up high and I never got hassled so I decided to do it again. Now I have a perfect place to mount a rear winch.
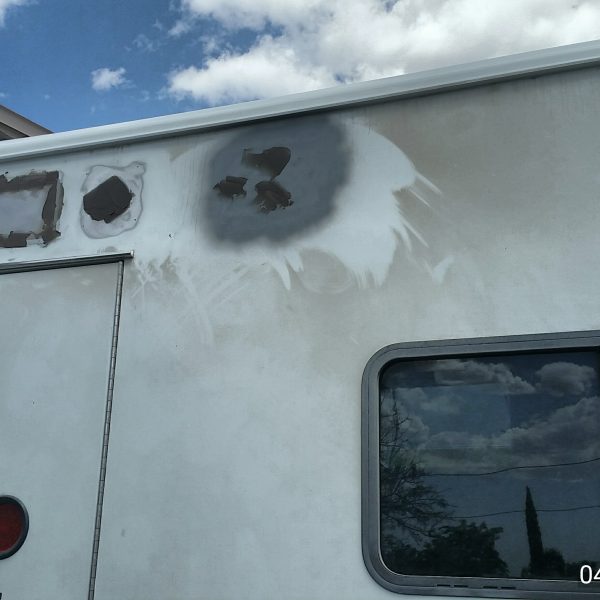
I got a wild hair and attacked all of the light holes. Got them all cut, welded, and finished in two days. It’s just spray can primer and paint because I’m not a body guy and I plan to paint the truck in the next couple of years anyway. So many holes in my habitat.
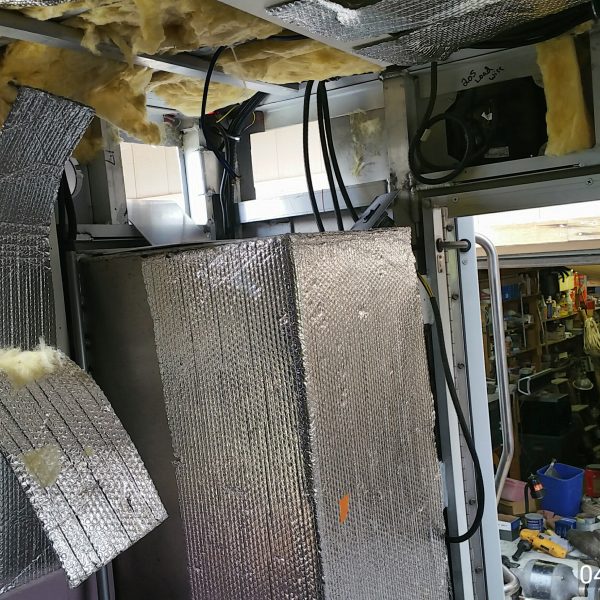
On the Outside
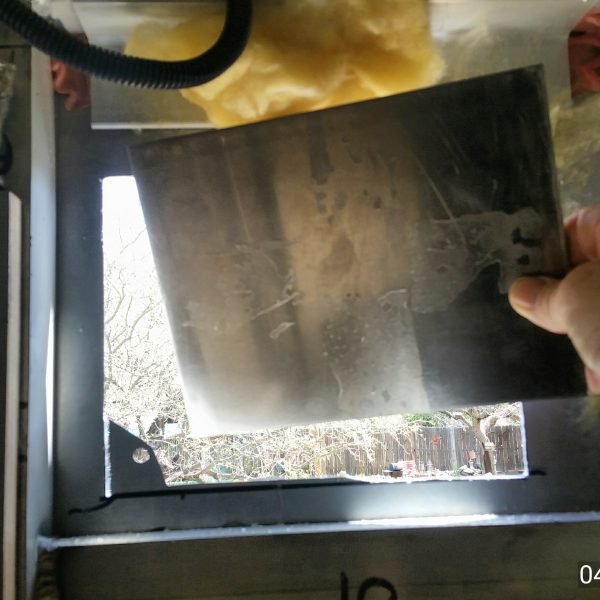
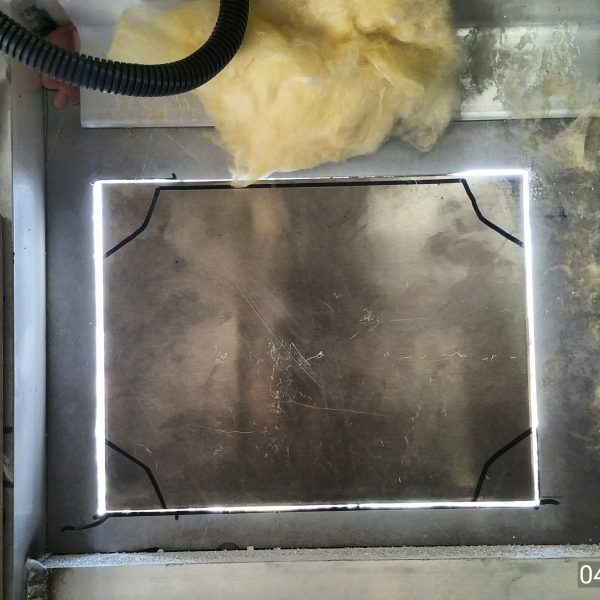
I came up with this medieval contraption to hold a steel plate flush with the wall outside. I could then hold the aluminum piece flush for welding inside the frame. This worked great because I could just feed the wire into the gap to weld. The aluminum wire didn’t stick to the steel so it had to melt the two pieces together. I don’t have the skill to fill an 1/8th inch gap in two pieces of 1/8th inch aluminum without carnage.
The welds aren’t pretty but they are flush and made for easy sanding and little bondo.

Bondo was the ticket. I used the glass infused type since there were a few 1/8th inch holes to plug. The bondo squeezes through the gaps and gathers on the back creating extra strength to hold the plug in. I also filled in the rear vent outlet. I was considering keeping this little 4″ vent until research showed that this vent moves 90 cu feet of air and the maxxair moves 900.
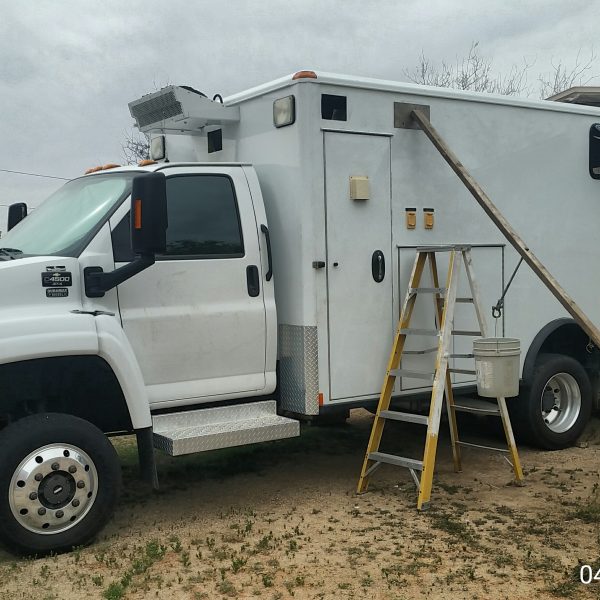
Only 4 red lights away from ambulance to utility truck. Next body work project is to remove that horizontal window, fill the gap, then install a larger one above it.