
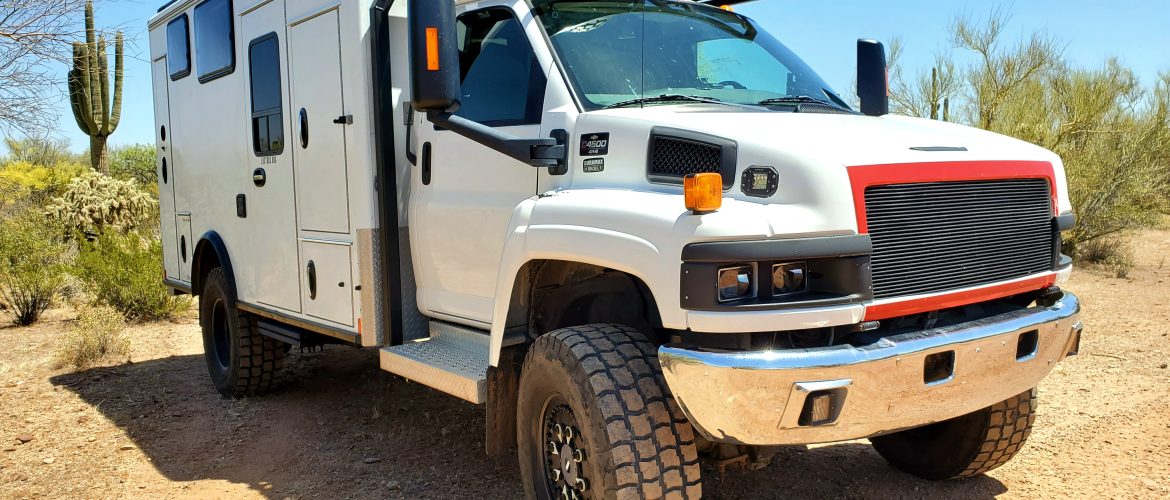
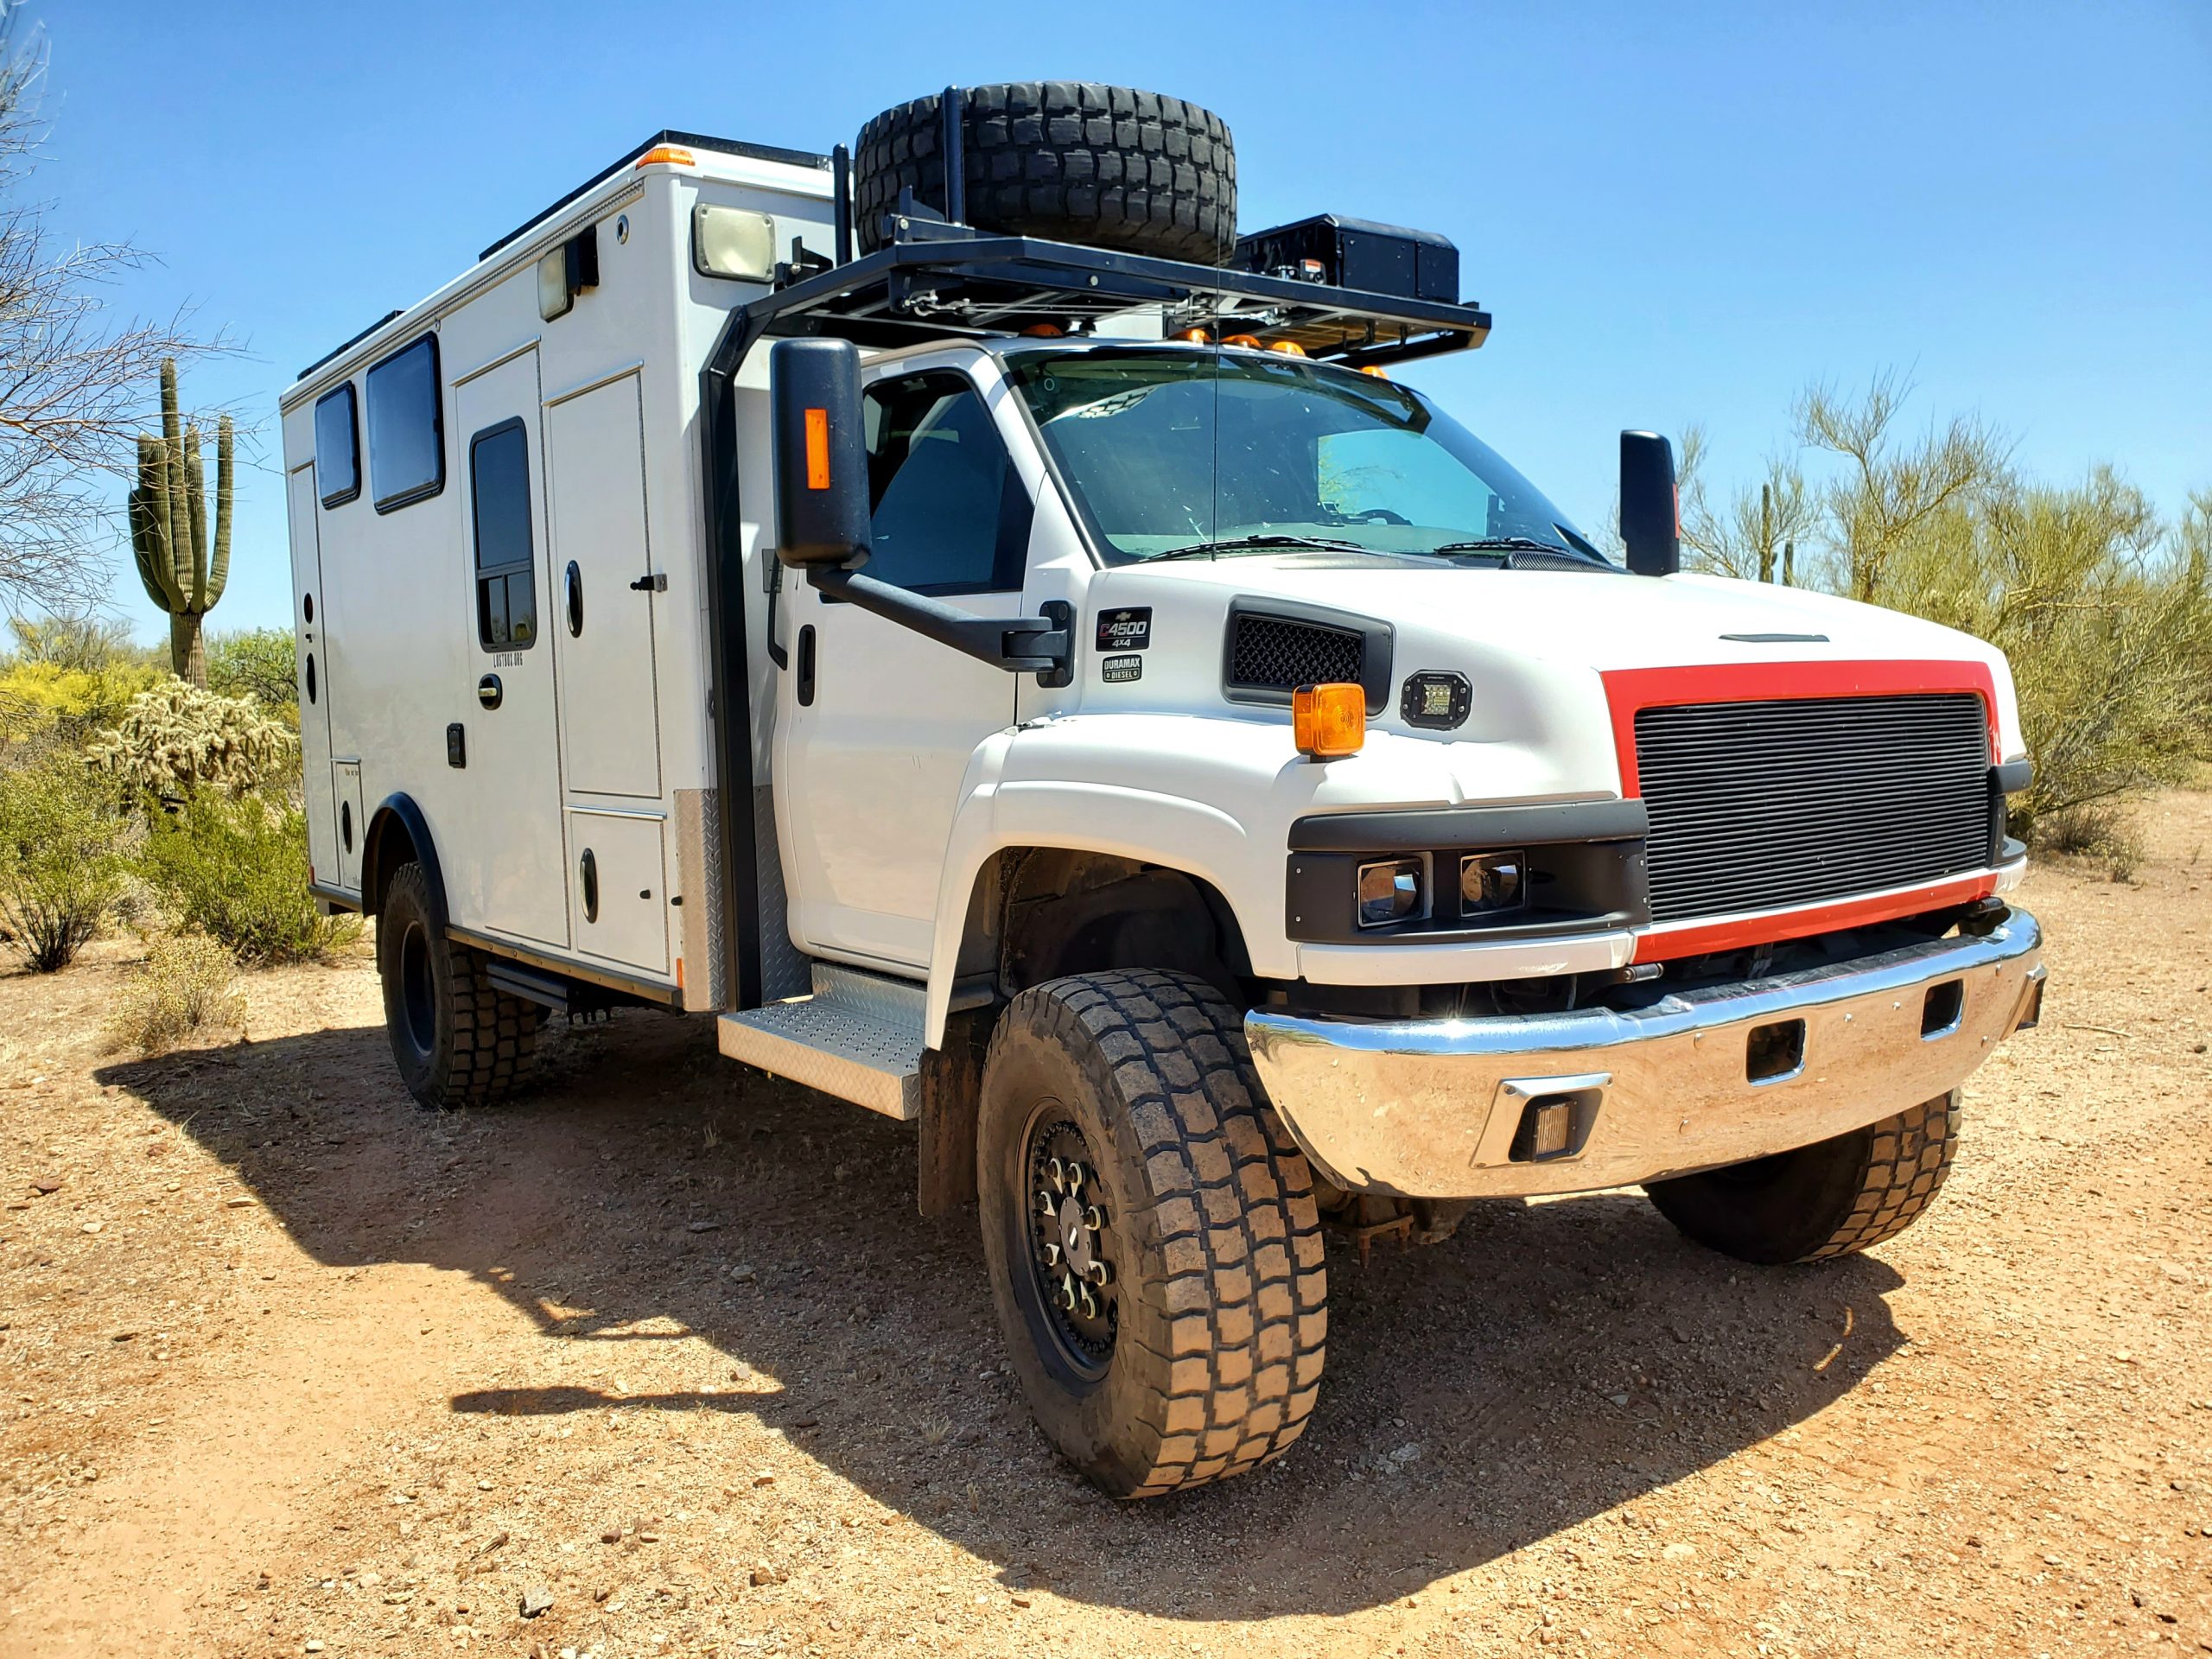
But Why?
Good question. Two main reasons for building a rack over the cab. First, the spare tire is huge. 42 inches by 14 inches wide, it takes up a massive amount of space and is incredibly awkward to deal with. My method for unloading was to roll it out and run after it. Loading it back up is near impossible by myself. I had to do it once at midnight on the side of the highway and it took an hour using ratchet straps one inch at a time. Second, I wanted my storage box back and I wanted the A/C evaporator up high. To use my A/C I had to pull out a protective cover and open the storage door. The evaporator also gets covered in fine dirt from the dust kicking up. A couple other reasons: No one else has a rack like this, It looks cool, It’s a challenge, moving the spare is now effortless, the A/C will be much more efficient (assuming it works there), provides a nice visual transition from cab to box. And did I mention it looks cool.
Rear Mount?
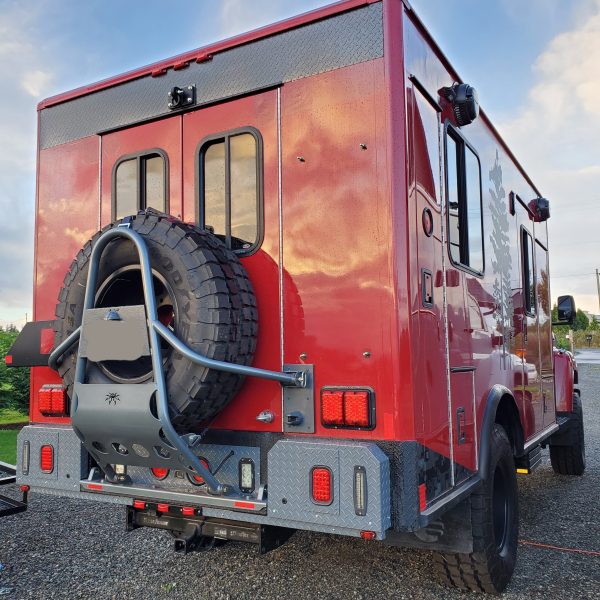
Everyone kept asking, “why not mount it on the rear” Main reason is because we get in and out of the back almost daily. I don’t want to have to deal with moving a tire every time I get in there. See more of Jim’s camper on instagram: brewdiak
The Concept
This rack has been two years in the making. The original concept was developed by my friend Jasper. After seeing his design I became more motivated. Much more exciting to build something unique and ultra-functional.
At first I wanted a rack like this.
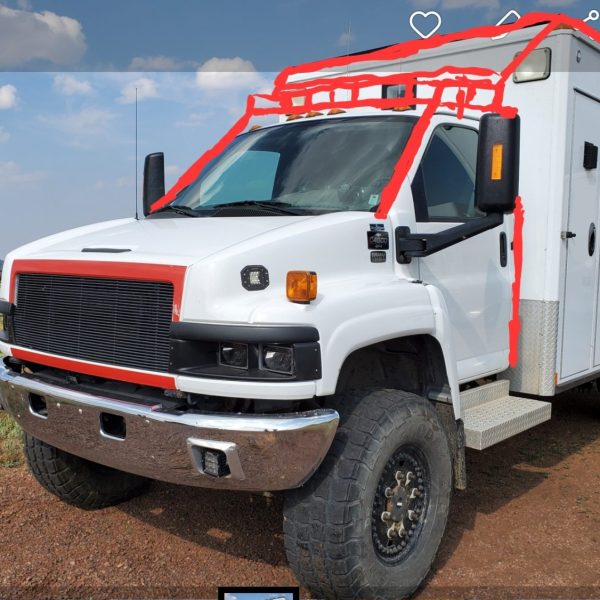
With Mike’s help I found a mounting point just below the A-piller. The back mount would come from the frame. The spare weighs 225lbs so with the rack weight we are looking at 400 to 500lbs. Way too much for a rain gutter type mount.
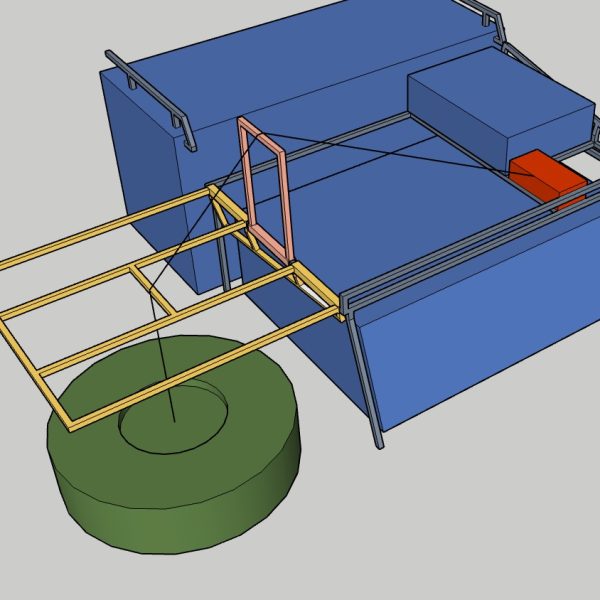
Jasper and I started discussing how to get this tire off the roof and this is what he came up with. This is actually version 3 or so where we figured out the lifting arm which doubles as a more efficient lifting angle.

Here is another idea that was really cool except that 600lb sliders cost $300 bucks. This would also require two winches and some manual labor. First design was better.
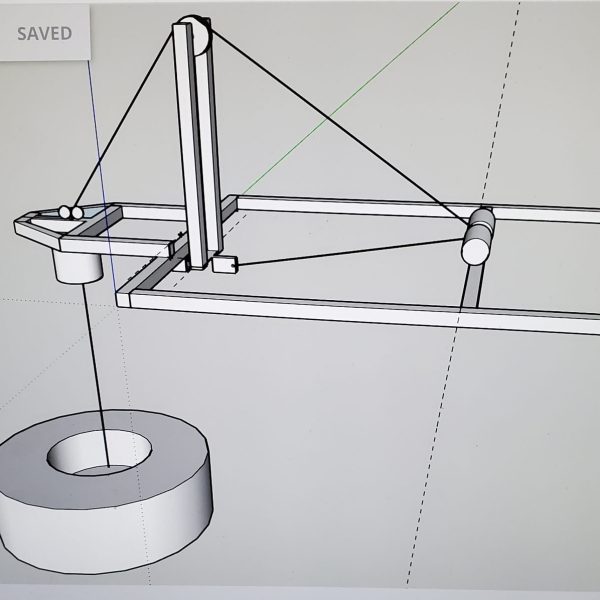
I eventually sat down and drew something up myself. I came up with the two winch idea after realizing they only cost $80 bucks and having two would provide redundancy. We made sure that they both had enough cable to go all the way to the ground in case one failed. In a pinch I could use either one to complete the process.
Time to Build it.
I spent much of the winter of 2021 in Arizona so realized it would be a great time to get this thing done. I was originally going to do it myself with 1.75″ tubing. I don’t have a tube bender and I really wanted to use square tubing since nothing on the truck is round. A quick search revealed that a good tube bender is expensive and bending square tube isn’t easy. I eventually decided to look for help and found James at Process Fabrication in Casa Grande, AZ.
James was a lifesaver and instantly pointed out that my original mounting location would have been a bad idea. Mounting to the cab and frame would cause problems because they can move independently. My cab is mounted on rubber bushings with two in the front and one in the rear. It wouldn’t have been long for the front mounts to rip the cab apart when I went off-road.
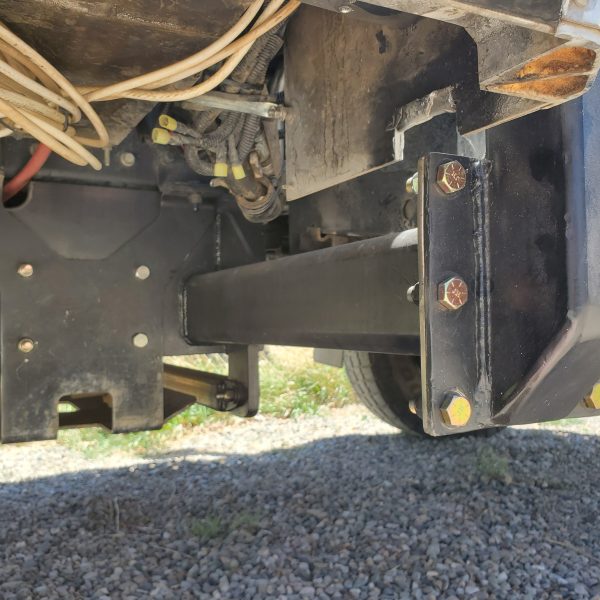
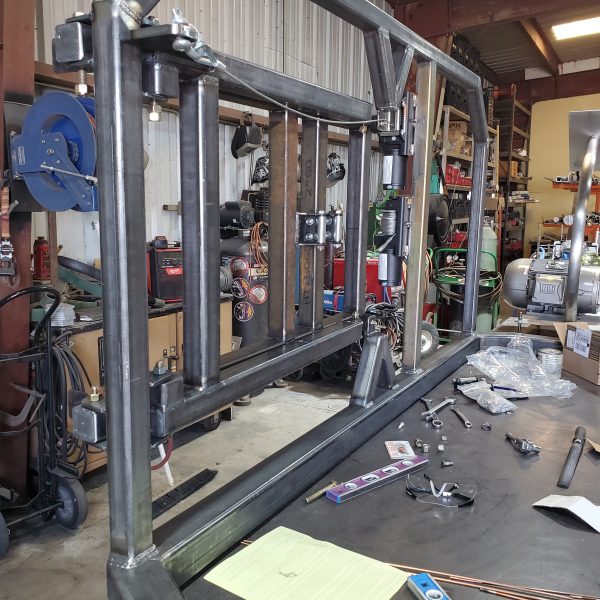
James came up with a frame only mount with serious support underneath.
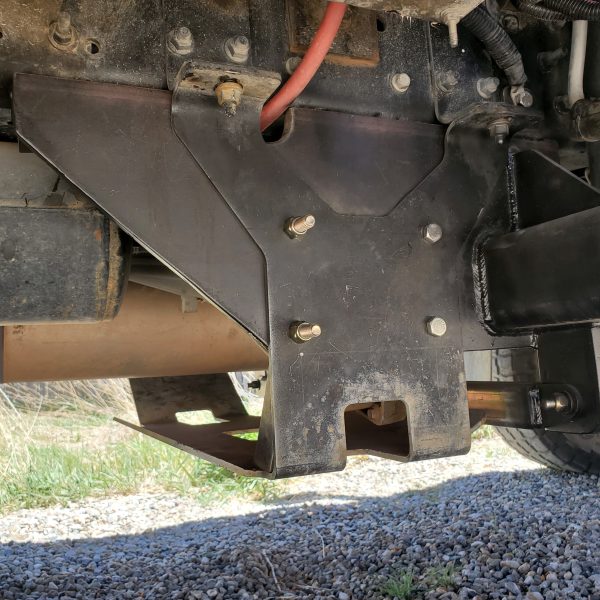
A half inch plate along the bottom of the frame keeps the rack from leaning forward. The rack is bolt in but will require a lift if it ever has to be removed. Everything is still serviceable underneath.
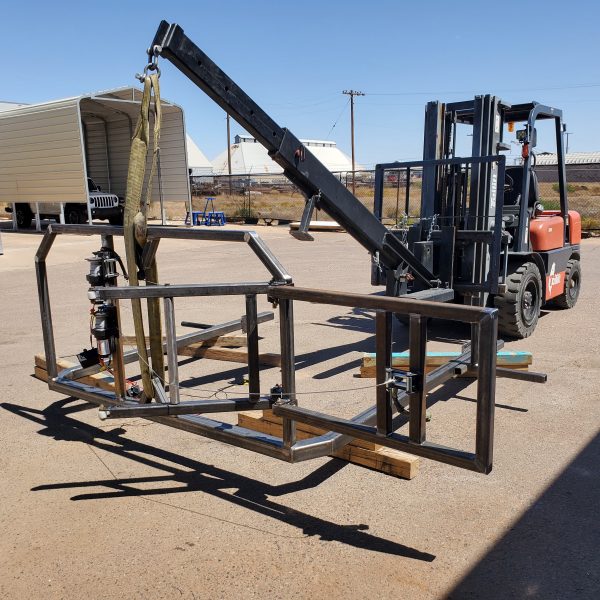
Unfortunately the rack was inches too long to fit into a paint booth so I had to do the rattle can job. James promised he’d help me take it back apart for a proper paint job this coming winter.
Finishing Details
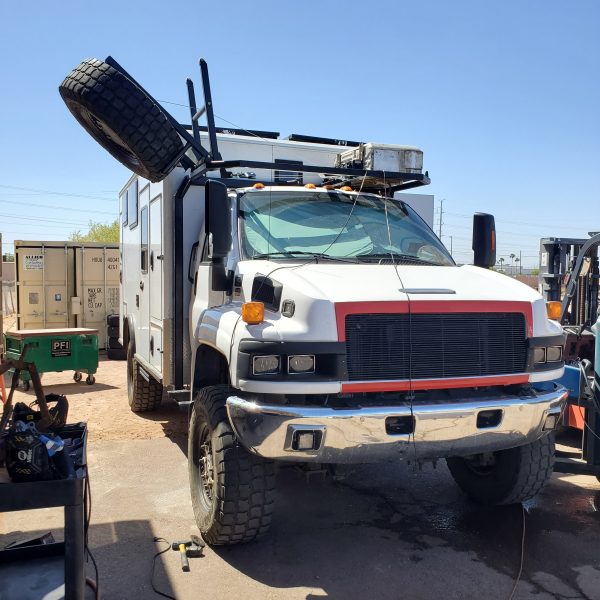
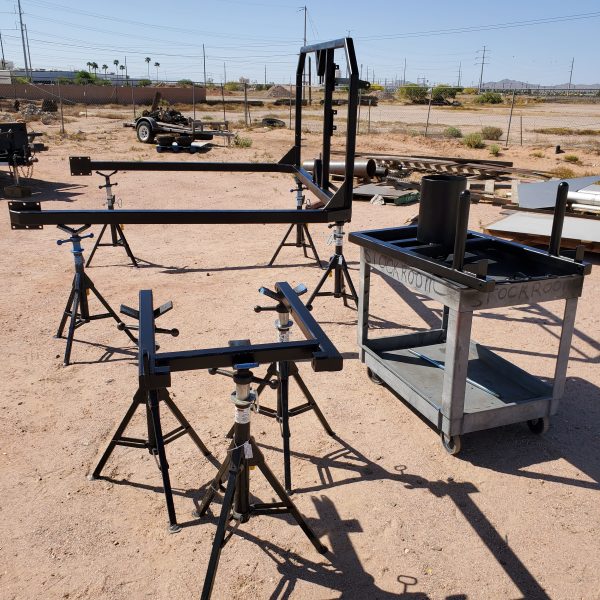
We tested the rack on the ground and mounted. It’s surprisingly easy to lift and lower the tire. Now when I need the spare all I do is plug in the two winch controllers and push buttons. No manual labor or climbing up required.
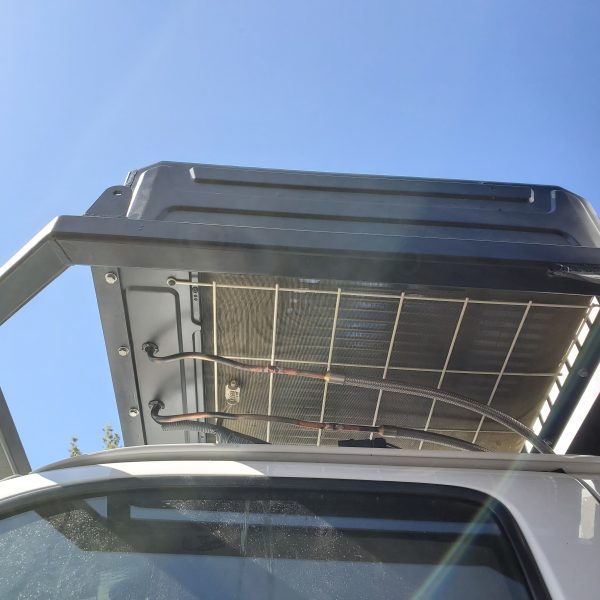
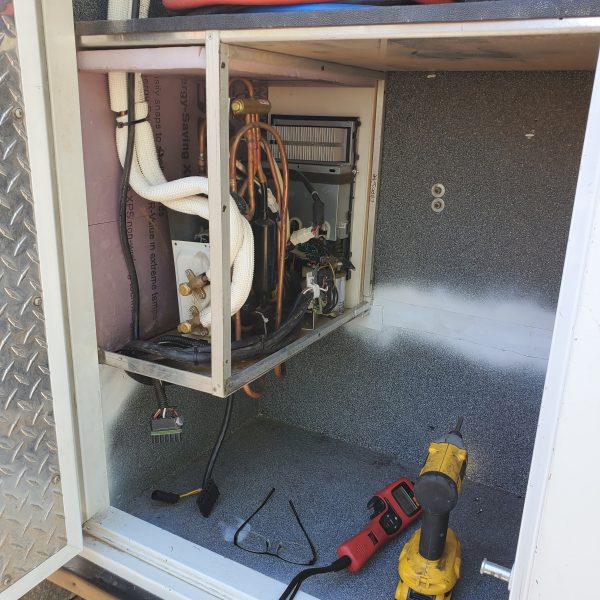
The A/C evaporator is all mounted and ready to go. Just one tiny issue. When I wired up an extension for the electrical I crossed two wires and looks like I burnt out the motor. Shouldn’t take me too long to confirm and replace as necessary. I’m also wondering if the two sensors which run on resistance will be a bit wacky with 22 feet of extra wire added. Always an adventure when you experiment.
