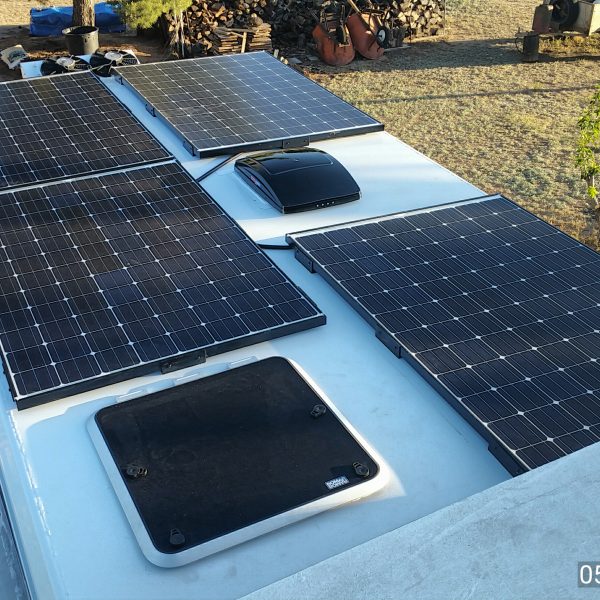
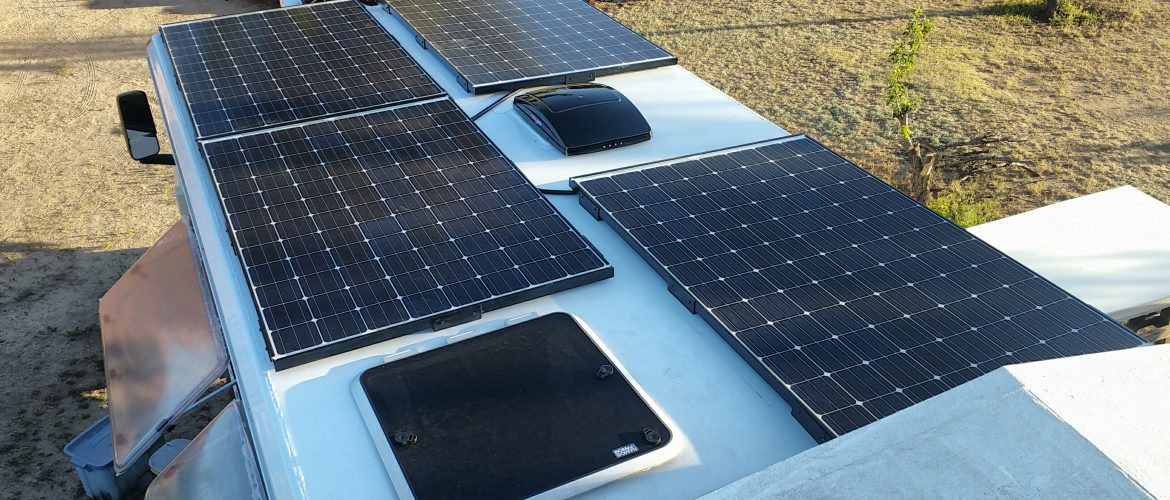
It’s time to do the Solar Install in the Ambulance Camper. I picked up my solar panels recently. 4 of these babies should move some electrons.
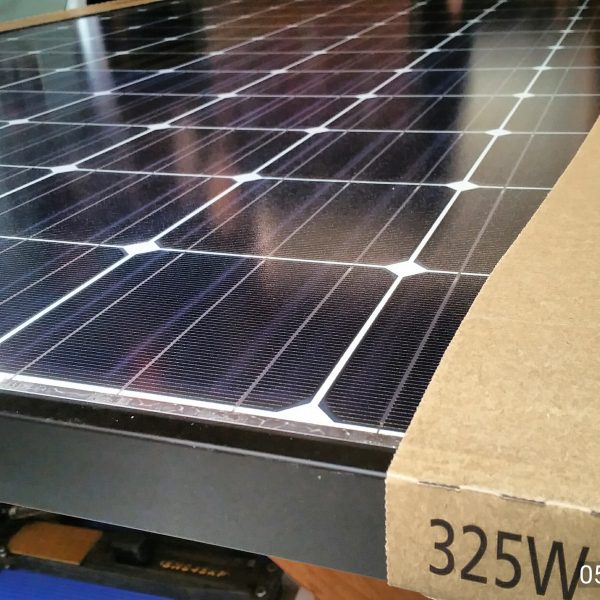
So many Parts
What amazes me about this build is the cost of the supporting hardware. These panels were just over 1200 dollars. The brackets, screws, paint, wiring, vhb tape, circuit breakers, etc cost another $500. I used 2×2 aluminum angle iron mounted with vhb tape.
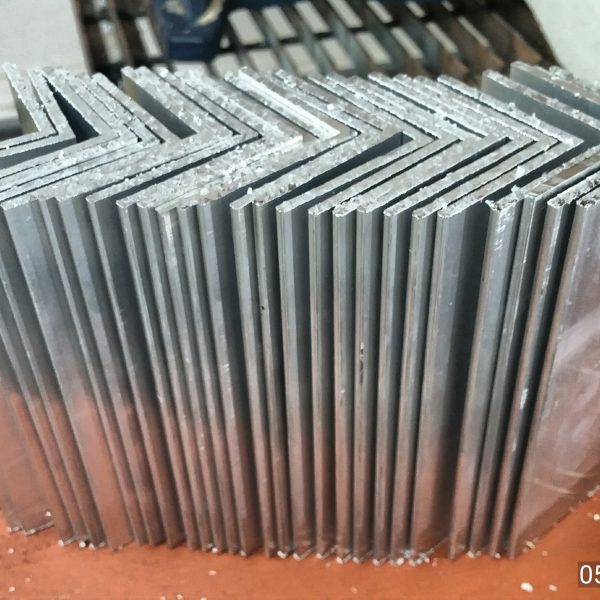
My roof had significant curvature so I had to “float” the brackets on the panels to get everything down securely. In other words, the brackets are flat on the roof but not square on the panels. I primed and painted the brackets and turns out did a terrible job. The paint is now peeling off of them. More pre sanding I guess.
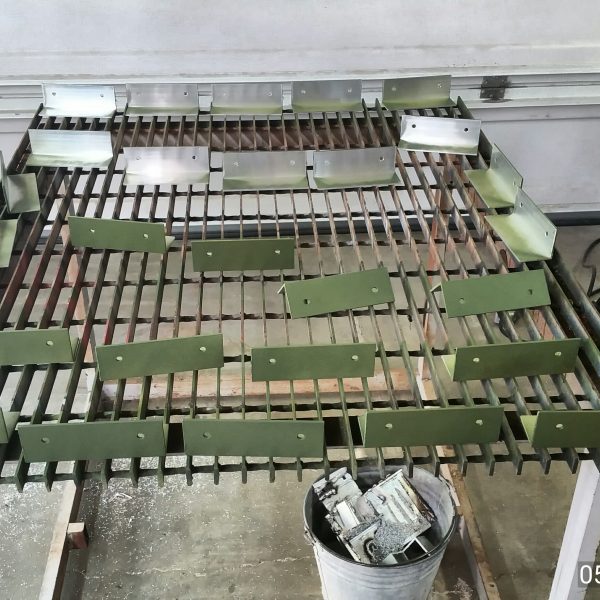
The screws and brackets in the sun, or basically a kiln here in AZ.
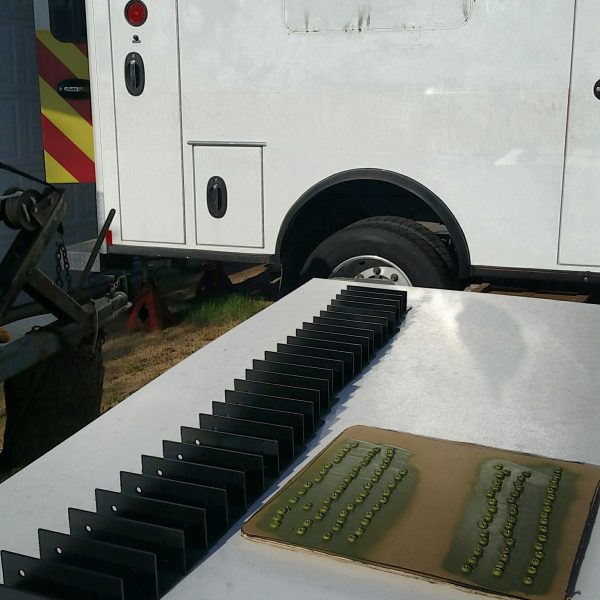
Measuring and Cutting
Measuring, marking, cutting. We also put in a 24 x 24 inch Bomar hatch and a Maxxair Deluxe fan. My friend Mike is still here and we are on the fast track to get most of the outside done. Trying to get it finished so I can work inside with a/c when the real heat comes.
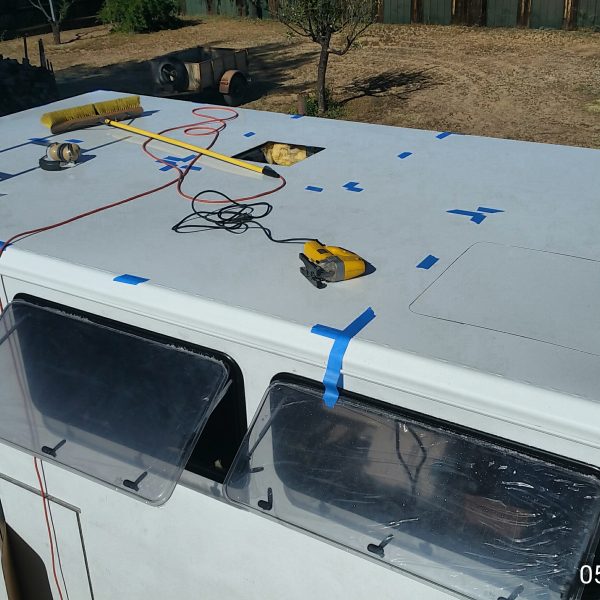
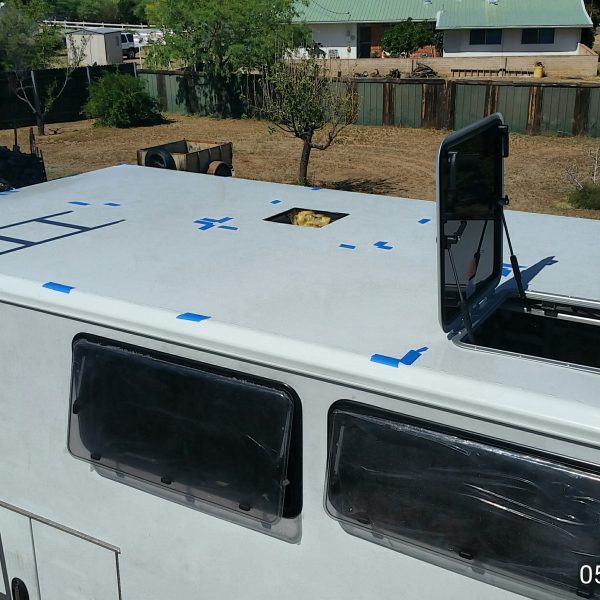
The hatch will be right above the bed. This is something I’ve always wanted. How great will it be to see the stars at night. It’s also an escape hatch and easy access to the roof. There’s so much light inside now that if I give up on this project it could always be used as a greenhouse.
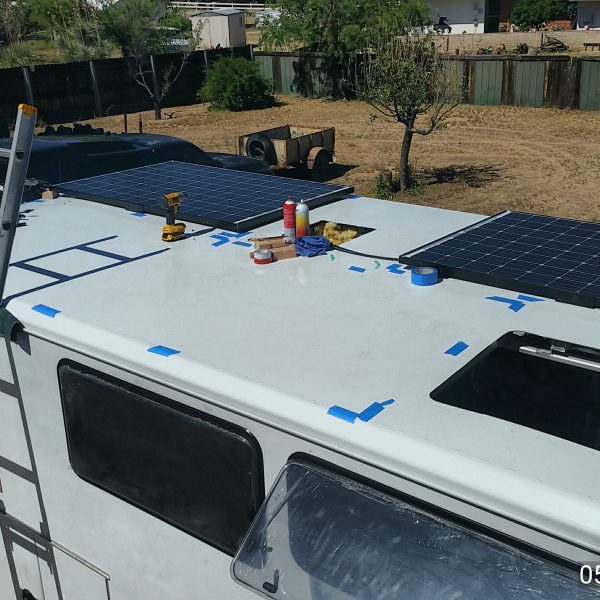
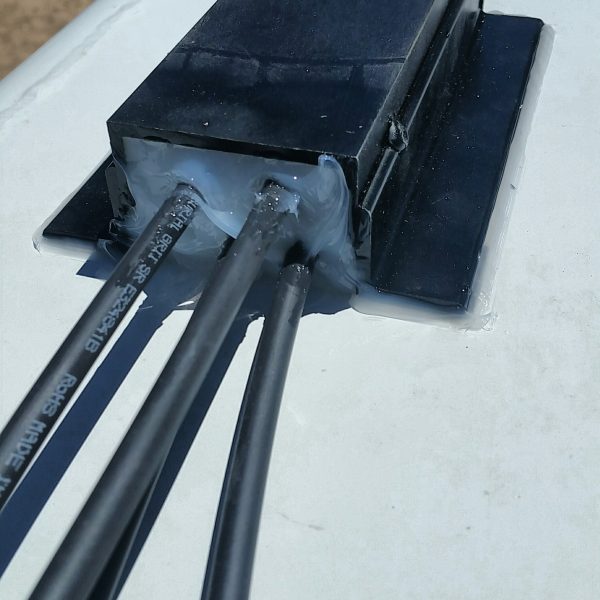
I couldn’t find a decent way to get the wires through the roof. We ended up making this. Good design by Mike Moore.
Almost there, just one to go. This shot shows how many brackets I used and where they are. I’m currently updating this blog and after 3 years there have been no issues with this solar install.
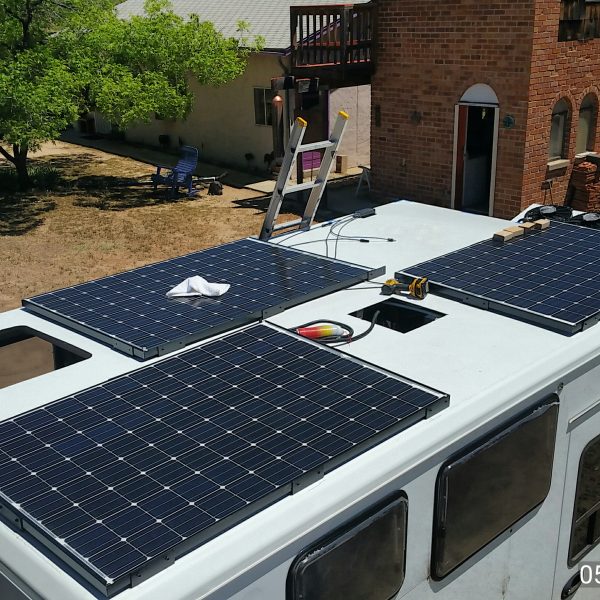
How it Looks Today.
And the finished product. By the way, these roofs are no where near flat. There is a crown built in both longitudinally and laterally. We had to float about half of the brackets to make sure they all contacted the roof.
