How we Installed all the Windows
My friend Mike is visiting. He recently sold his home and went full time in an RV. Follow his exploits at askmikemoore.com Mike graciously offered to help with the project. With some friends, that would normally mean hanging around talking and occasionally getting a few items checked off the list. Not so with Mike. He walked into the house the first morning at 7am dressed for work and hasn’t stopped since. Together we have made some serious progress in a short amount of time.
Why so High up?
I have 4 big windows going into the truck. We will install these windows up high for two reasons. 1. Privacy, I’ll be able to walk around naked with no one the wiser outside (sorry for the visual). 2. I can see outside without bending over. This has always bugged me in other campers so it’s time to address it here.
Here we go!
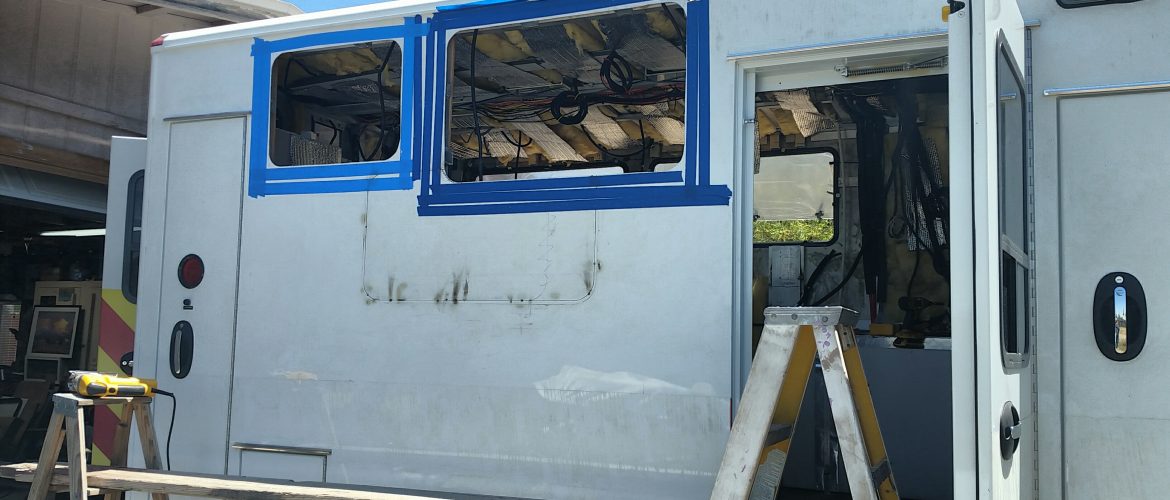
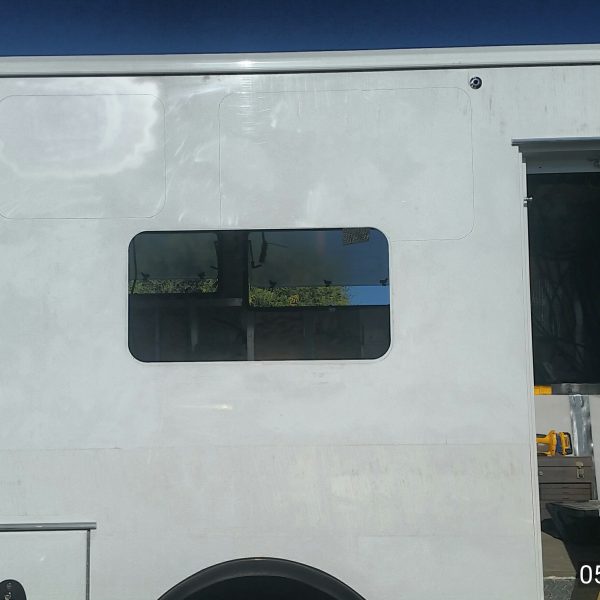
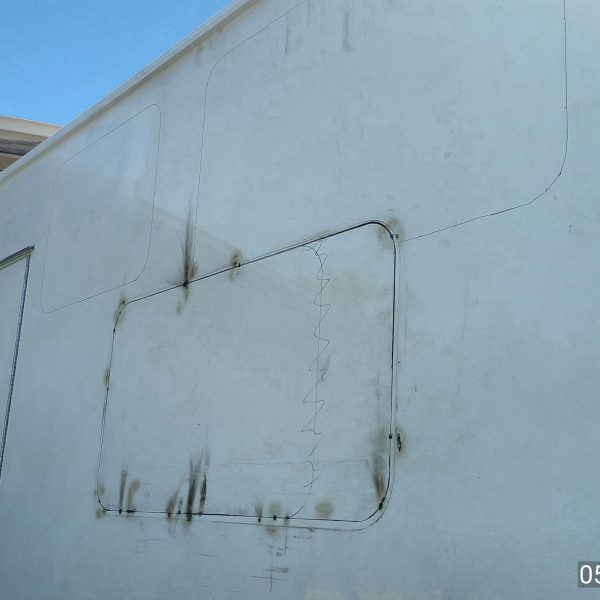
First step was to cut out the larger window on the drivers side so we could use the plug to fill the window hole on the right side. Here’s a shot of the hole after new supports are welded in.
And the new look from the outside.
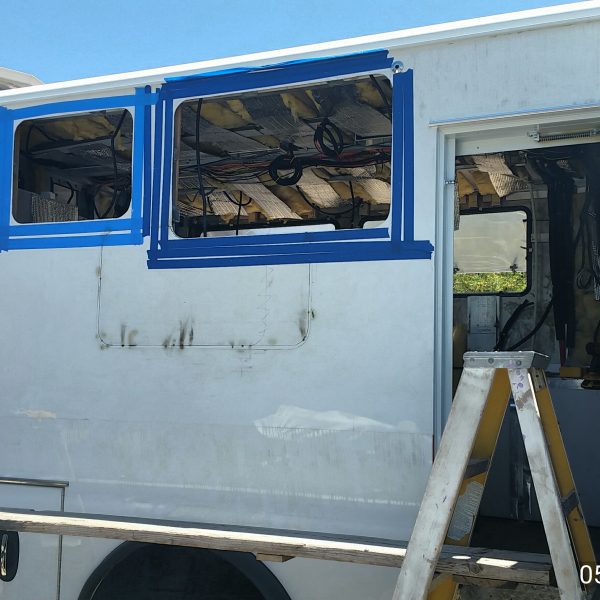
Now for the passenger side. Old window out first.
Next, measure 14 times then cut the plug to fit the new space. You wouldn’t believe the amount of aluminum flying around this place right now.
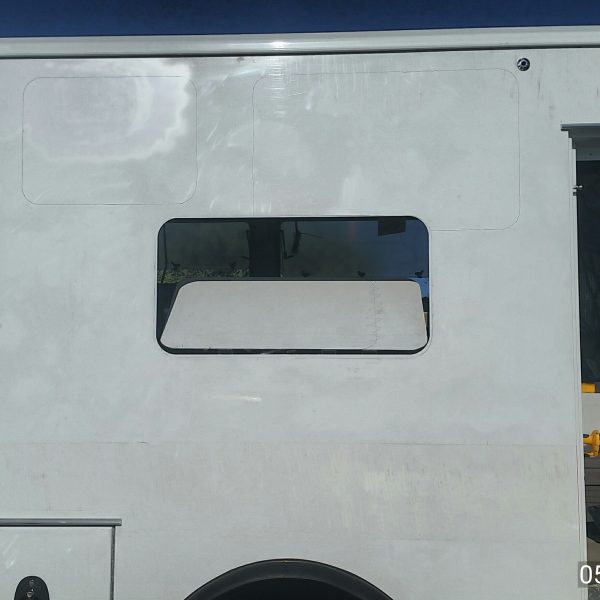
We were very careful and got the plug in with only a 1/16th inch gap in most of it. Then Mike came up this this great idea to tack it in flush. We drilled several holes between the two pieces of metal and bolted a piece of steel on the outside and piece of aluminum on the inside. I then welded the inside piece in place and the plug was flush.
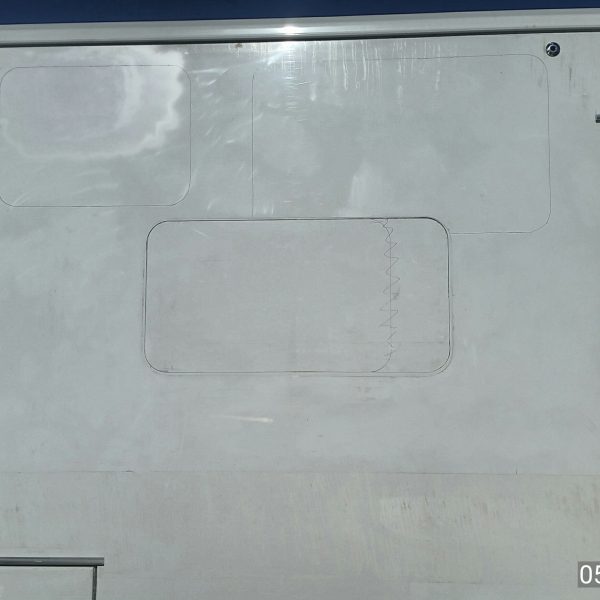
And now the plug is in and solid so lets cut some of it back out.
It was difficult cutting right through the stuff we had just built.
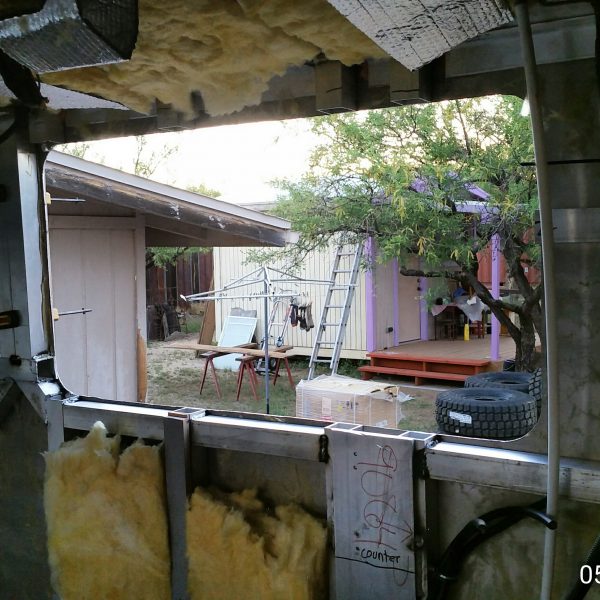
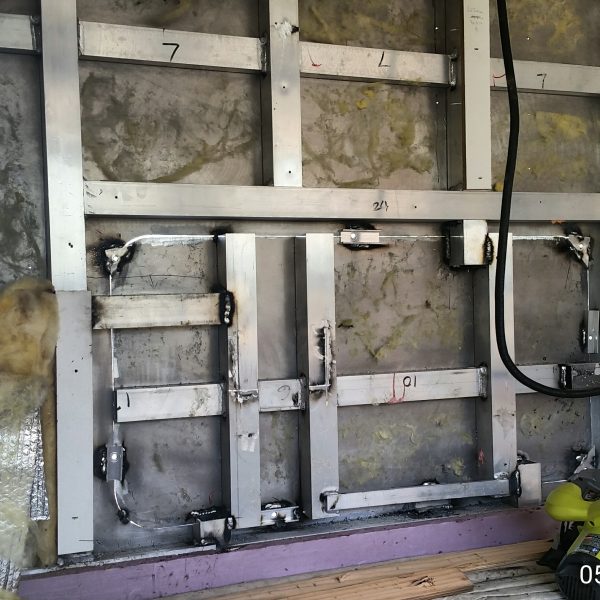
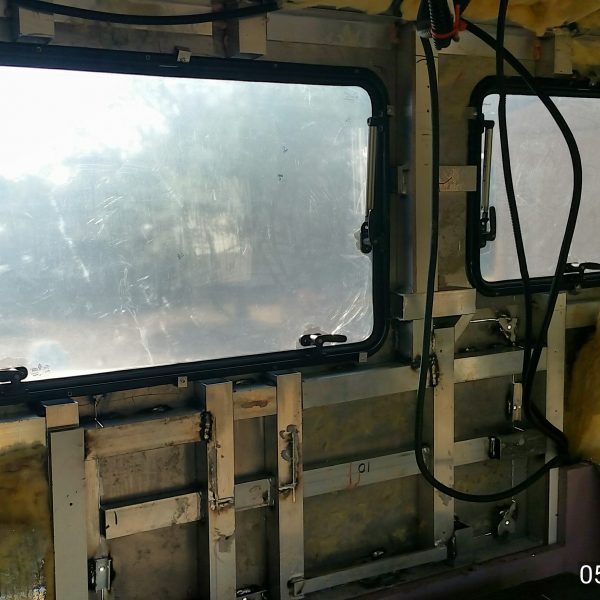
Here’s a shot of the framing that went back in. The 2 x 2 aluminum is all attached to the skin with vhb tape so it’s near impossible to remove without bending up the skin. Because of that we left the bracing intact and added to it. I really wanted to put more bracing in there to make it look better but it just wasn’t necessary. We made sure the loads were distributed properly without adding more weight.
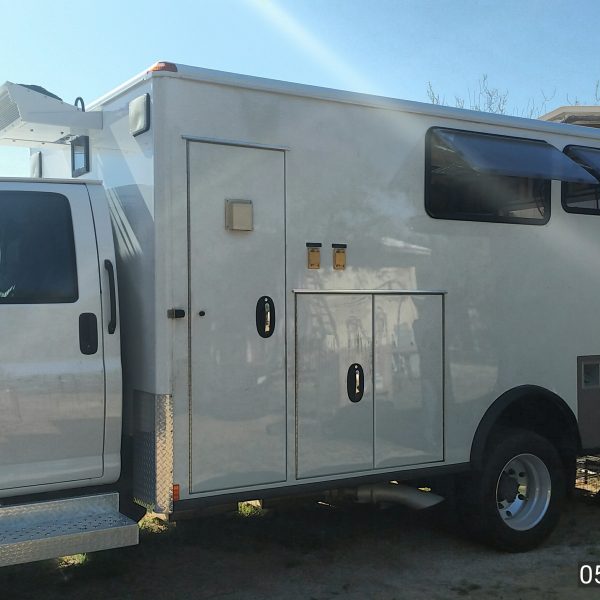
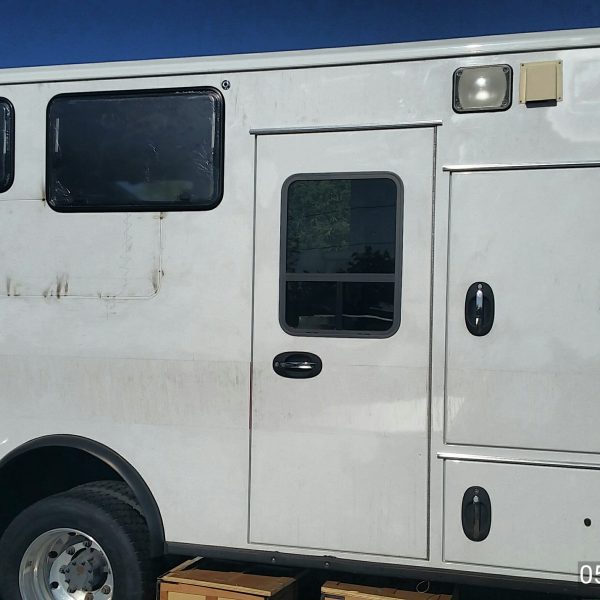
Passenger side finished except for the gap sealing on the plug. Looking kind of busy on this side but certainly moving away from the ambulance look.
Build Details to Consider
Here’s another shot worth sharing. As you know I have 4 windows made by Eurovision and imported by Tern Overland. My walls turned out to be 3.5 inches thick which required an additional trim ring. It’s not a simple process to install these on the windows. Also know that with these windows especially the ones with extra trim ring the install is a serious pain. I consider myself to be a mechanically inclined person and it took hours and hours to install these windows. I spent over 40 minutes fighting with just one screw. The windows are great, the reps, either Total Composites or Tern Overland are great too. Just know that you better dust off your patience hat before you start this project.